How to Add or Change a Payment Method in Meta Business Suite (Fix Error 131042)
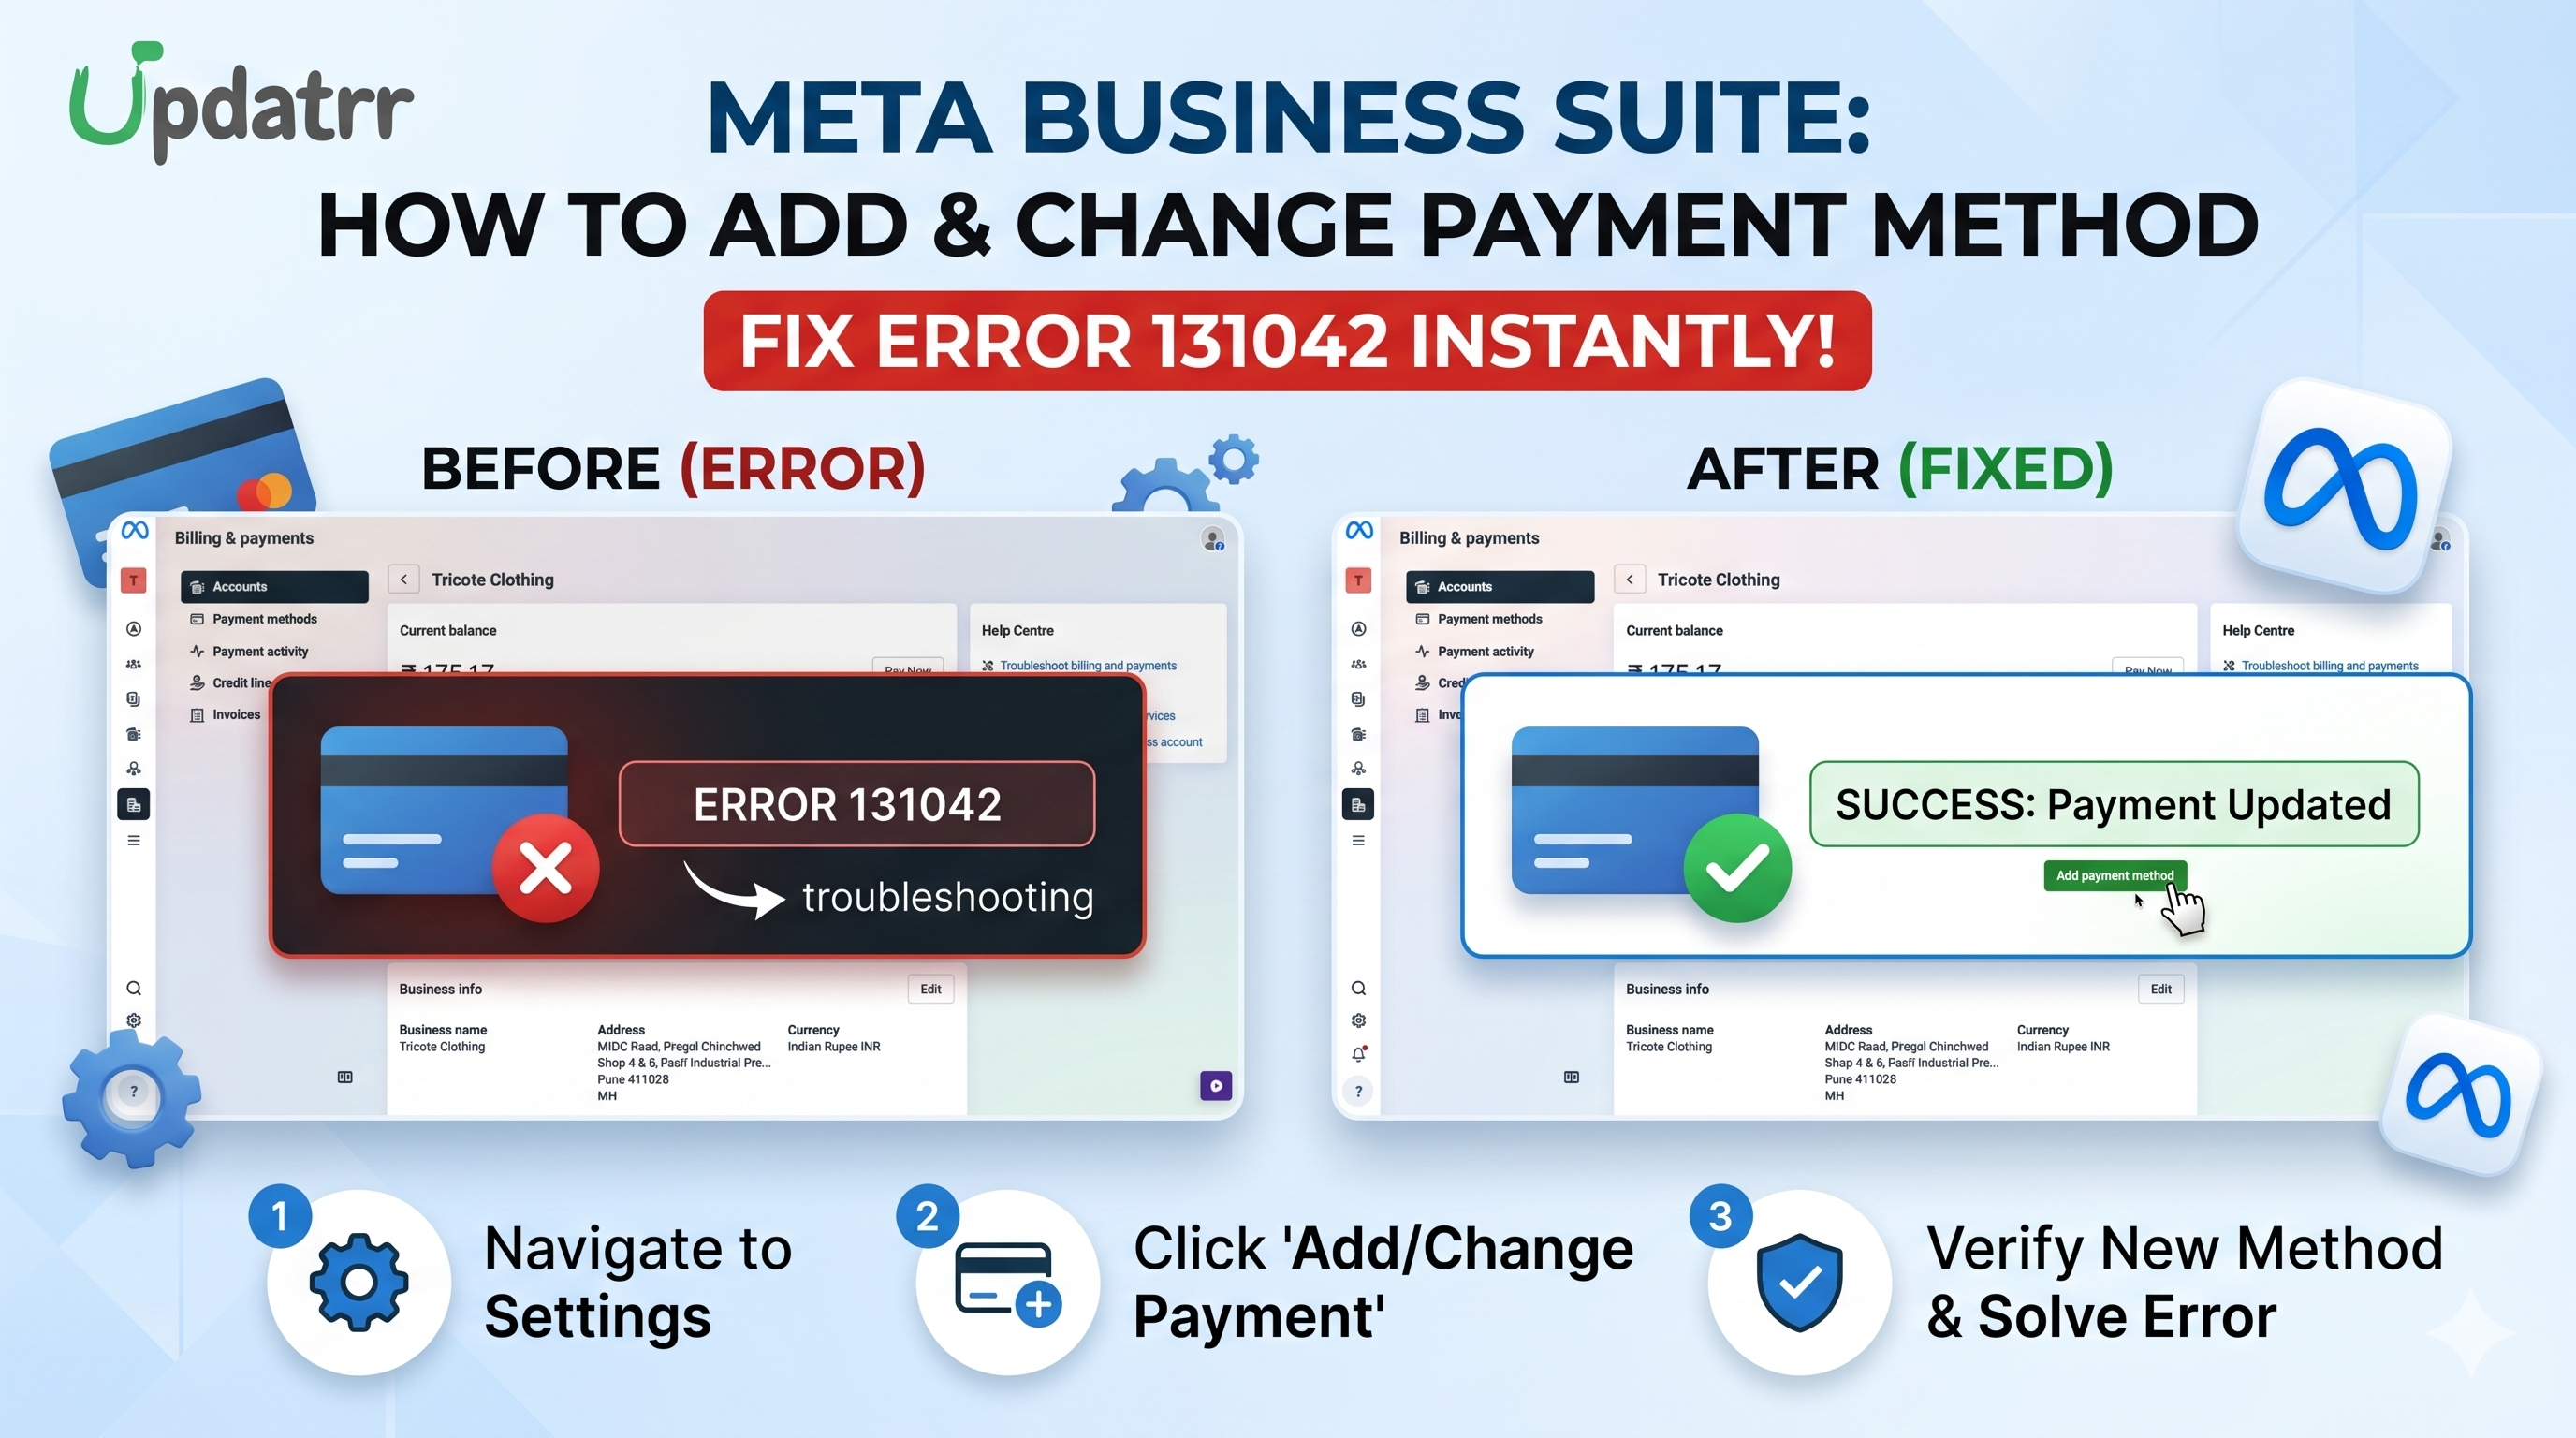
If you are encountering WhatsApp Business API Error 131042 — Business Eligibility Payment Error, it means your Meta Business account either does not have a valid payment method on file or the payment method is not set as default. Following the steps below will resolve this error and ensure your WhatsApp messaging continues without interruption.
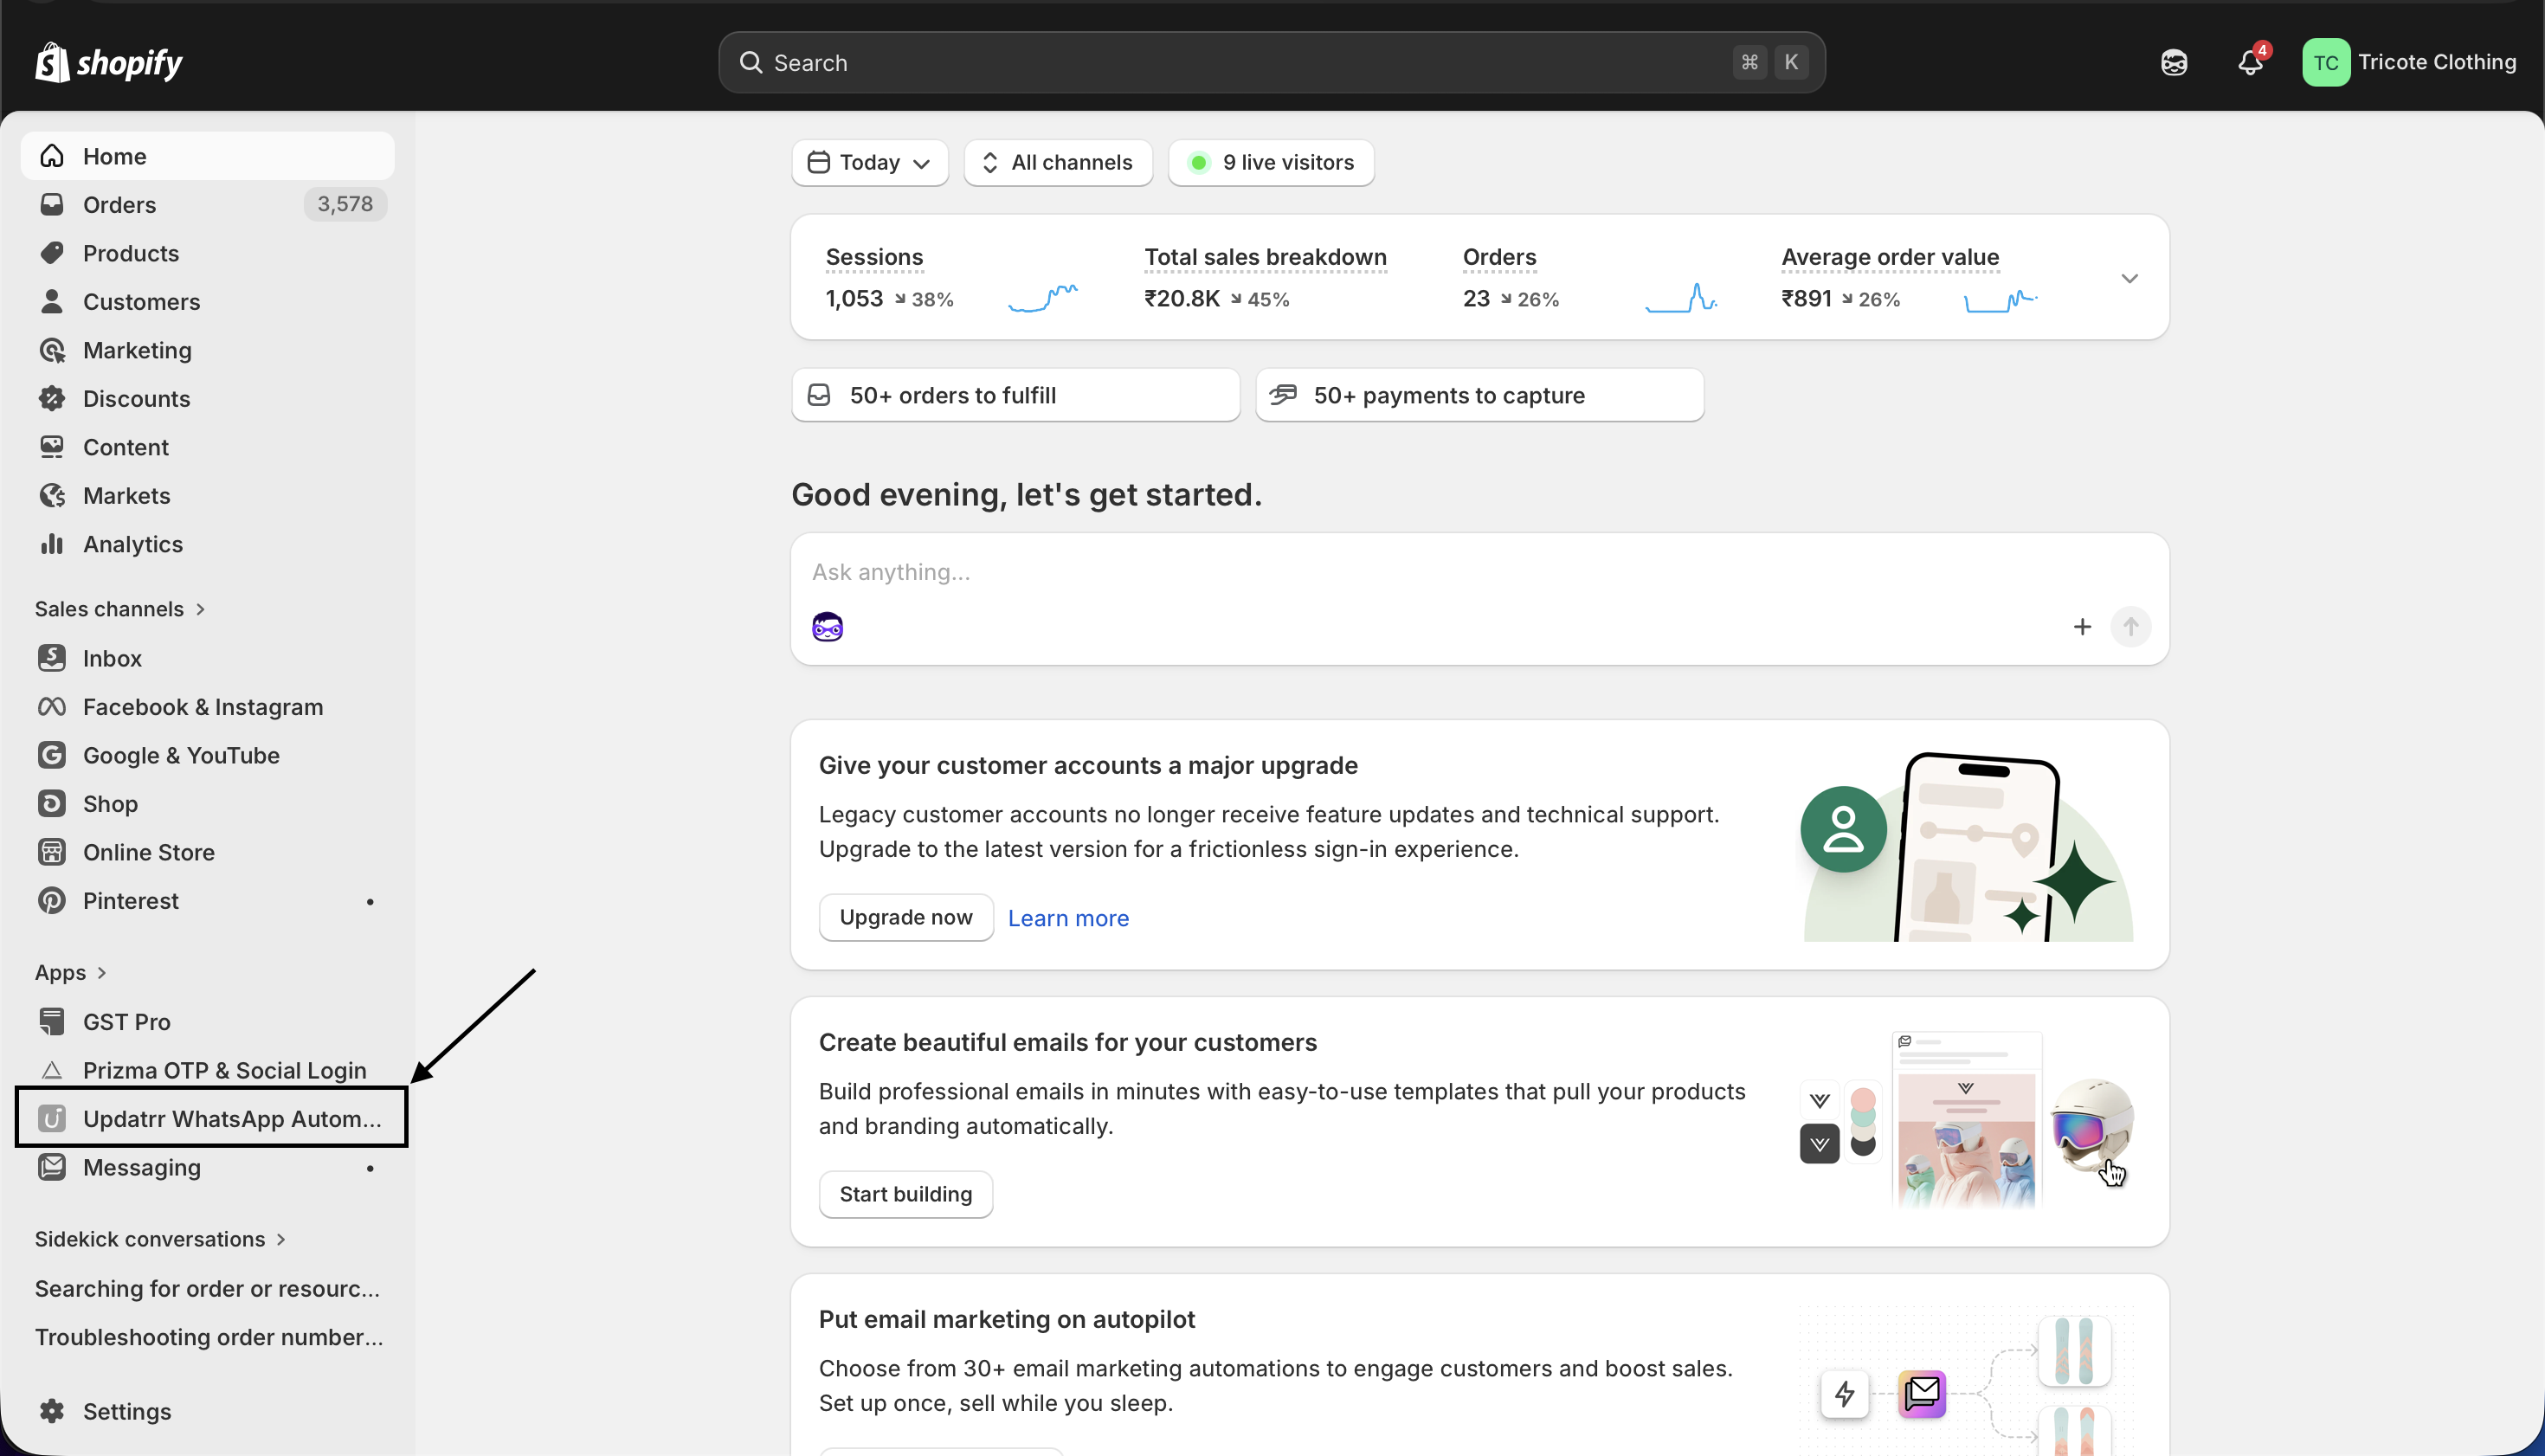
Step 1: Open the Updatrr App in Shopify
Log in to your Shopify Admin Panel. In the left sidebar, scroll down to the Apps section and click on Updatrr WhatsApp Automation.
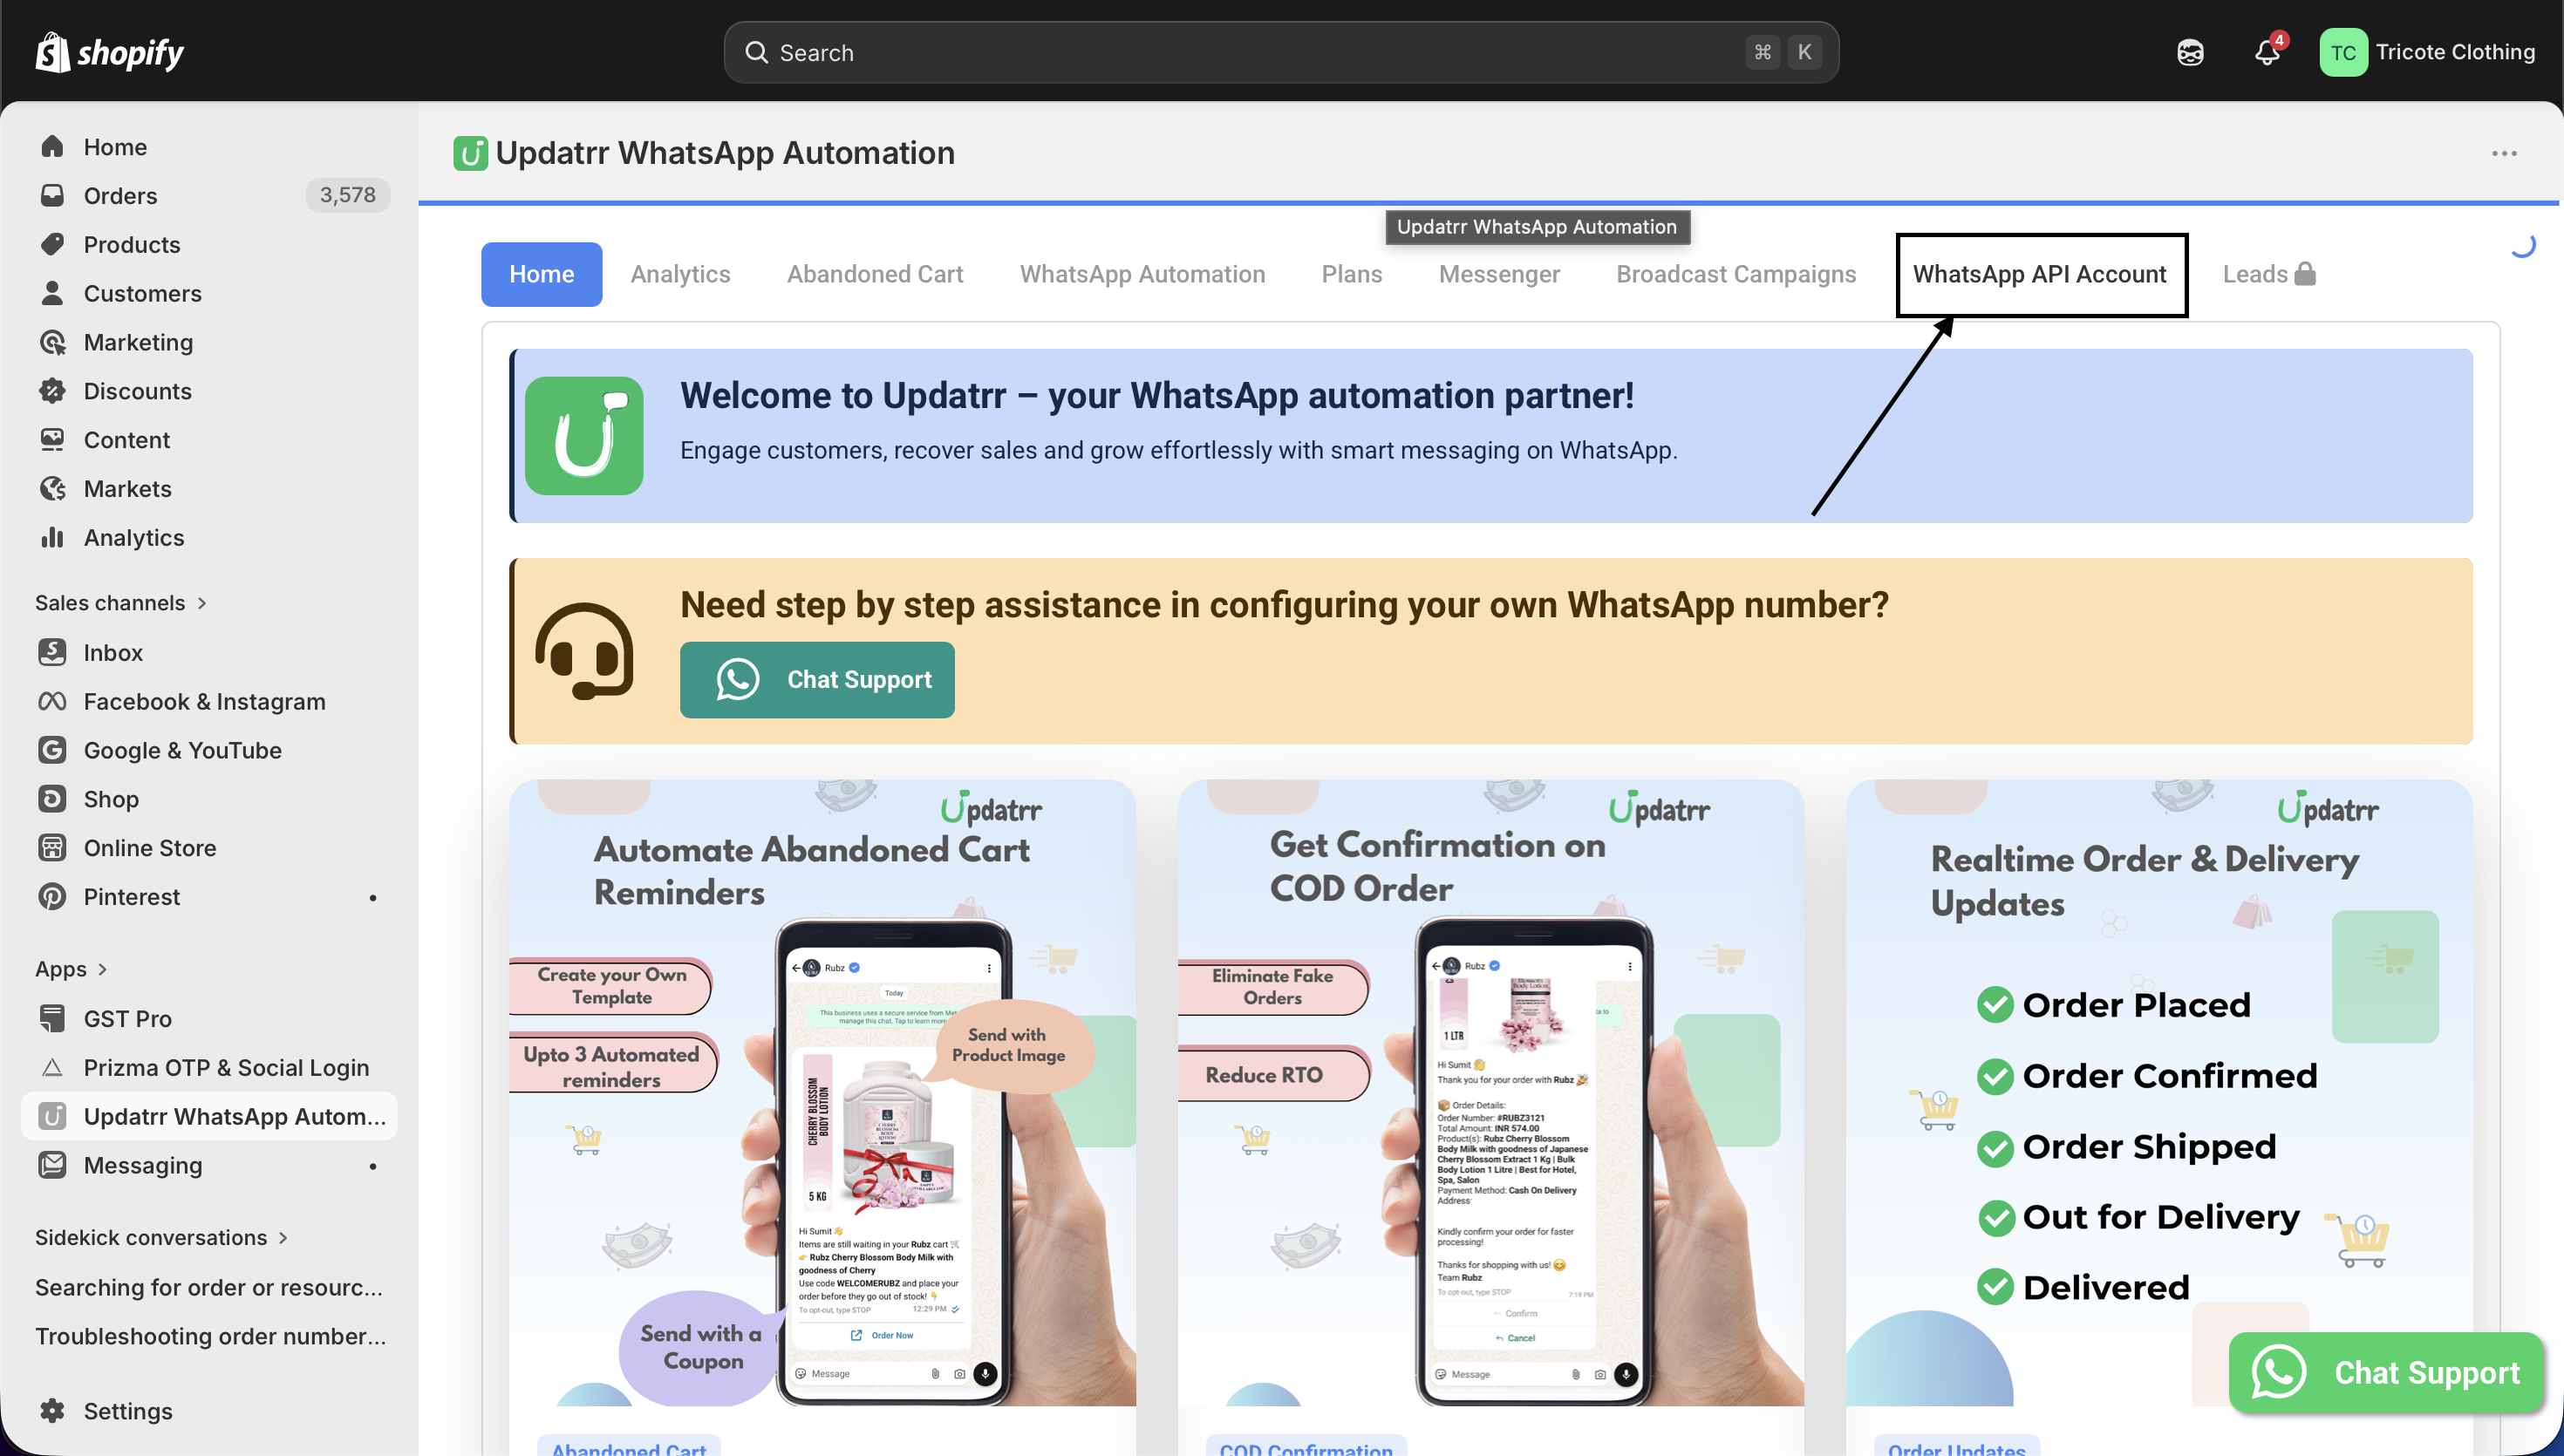
Step 2: Go to the WhatsApp API Account Tab
Once the Updatrr app opens, you will see a navigation bar at the top with multiple tabs such as Home, Analytics, Abandoned Cart, WhatsApp Automation, Plans, Messenger, and Broadcast Campaigns. Click on the WhatsApp API Account tab
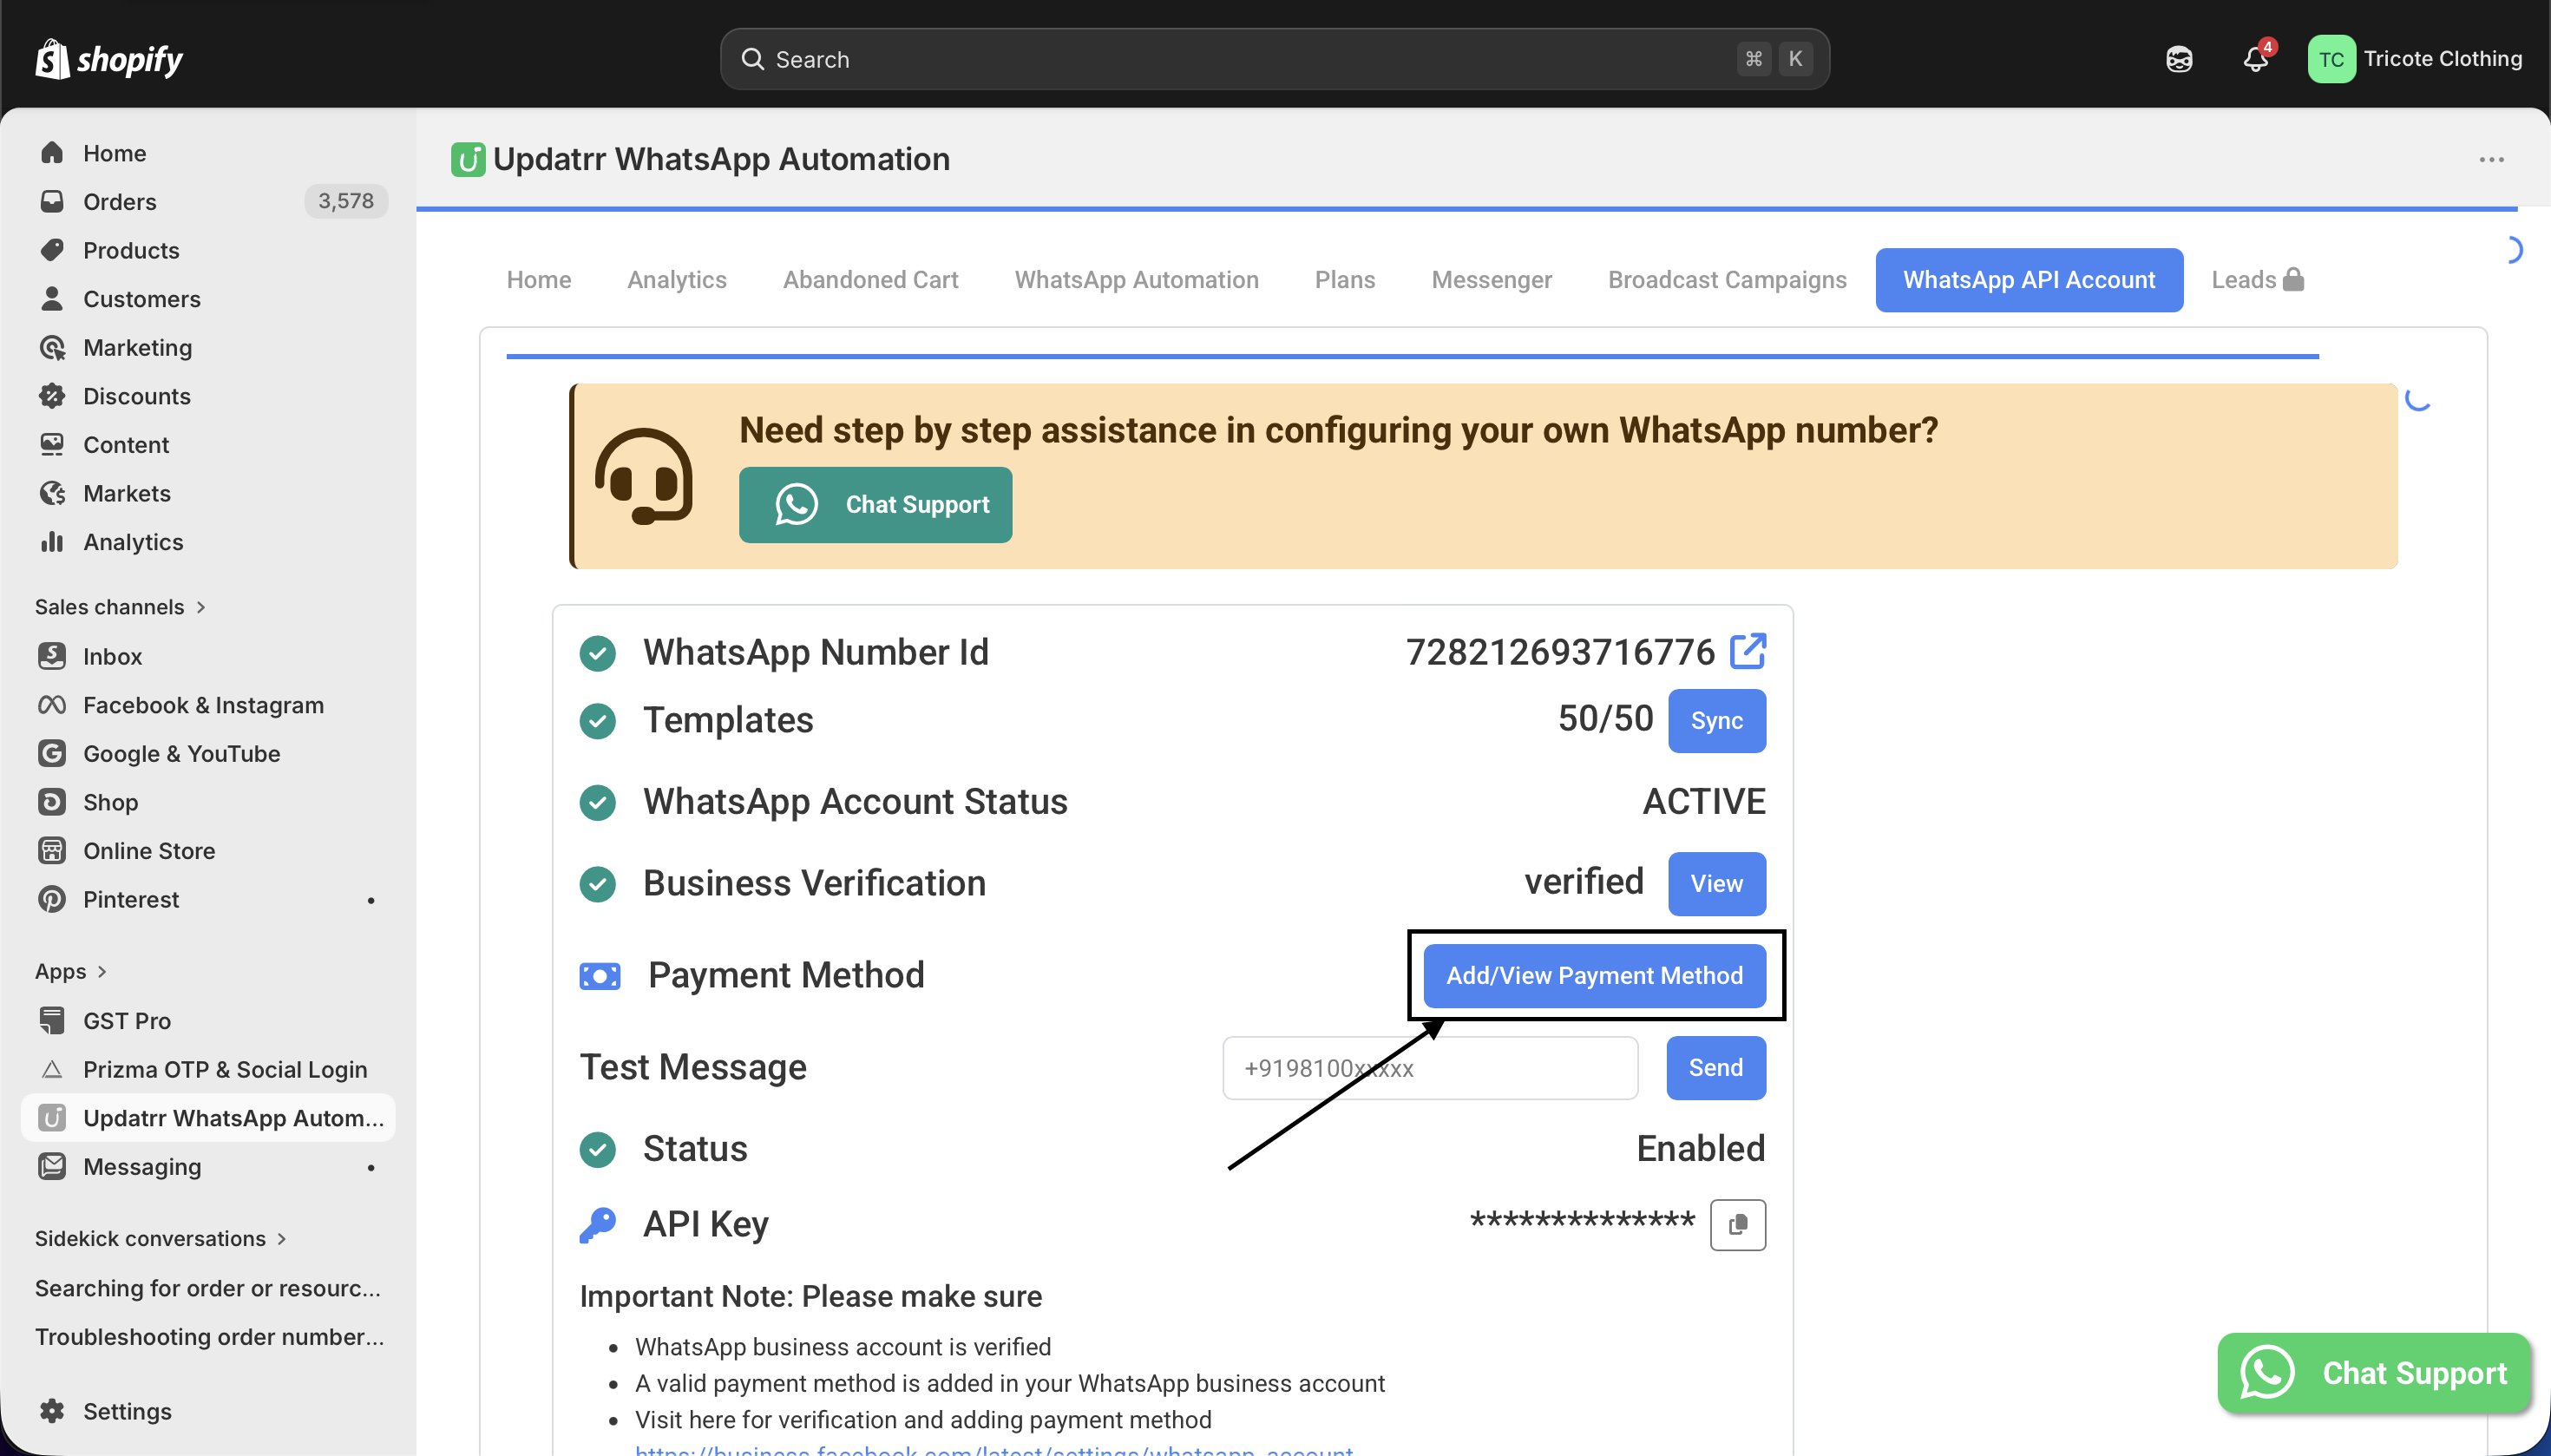
Step 3: Click on "Add/View Payment Method"r
On the WhatsApp API Account page, scroll down until you see the Payment Method row. Click the Add/View Payment Method button next to it. This will redirect you to the Meta Business Suite Billing & Payments page.
Step 4: Review Your Current Balance and Payment Setup
On the Meta Billing & Payments page, you will see your Current balance and the card currently being used under the "You'll pay using" section. Review this to confirm whether a valid payment method is already linked.
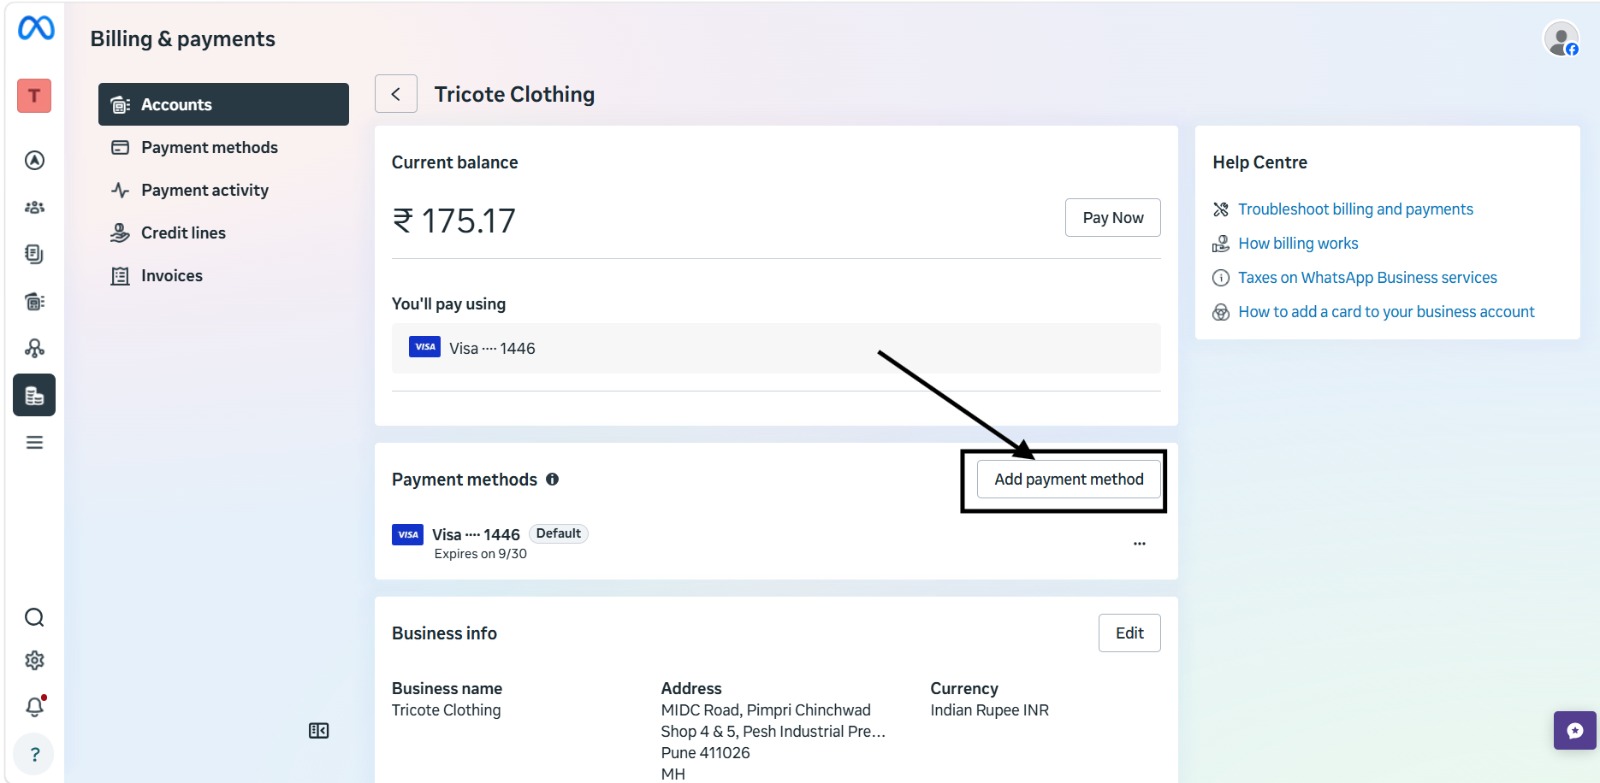
Step 5: Add a New Payment Method
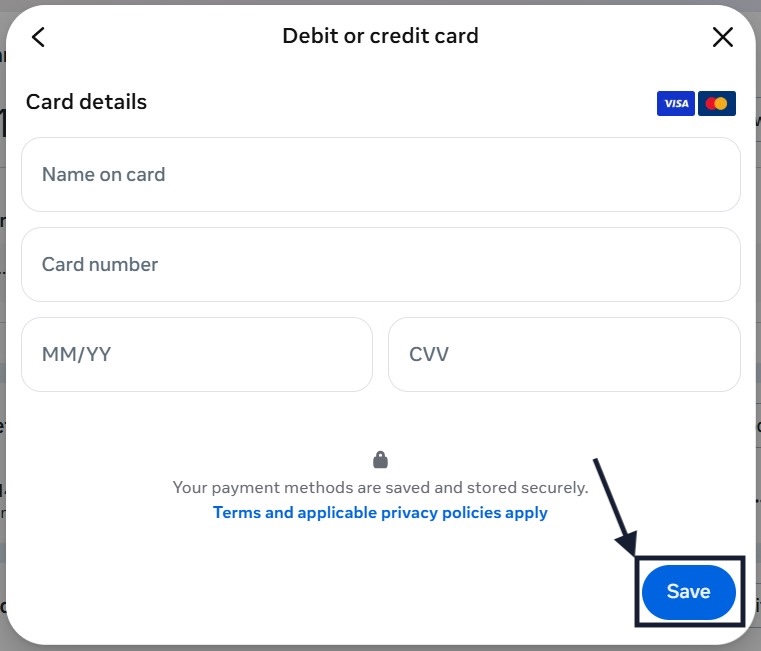
Under the Payment methods section, click the Add payment method button on the right side. A popup will appear titled "Debit or credit card". Fill in the following card details:
- Name on card — Enter the name exactly as it appears on your card.
- Card number — Enter your full debit or credit card number.
- MM/YY — Enter the card's expiry month and year.
- CVV — Enter the 3-digit security code on the back of your card
Step 6: Set the Card as Default
Important: Important: Simply adding a card is not enough. You must make sure the newly added card is set as the Default payment method, otherwise Meta will not use it for billing and the error may persist.
Step 7: Verify Your Business Info and Tax ID
Scroll down further on the same Billing & Payments page to the Business info section. Confirm that the following details are correctly filled in and up to date:
Note: If your Tax ID is missing or unverified, click the Edit button in the Business info section to add or update it. A verified Tax ID is important for compliance and can also impact your account's billing eligibility.

You're All Set!
Once a valid payment method has been added, set as default, and your business info and Tax ID are verified, your Meta WhatsApp Business account will be in good standing. This directly resolves Error 131042 — Business Eligibility Payment Error, and your WhatsApp automation messages through Updatrr will resume normally.
Quick Tip: Check your payment method every time a card is about to expire. An expired card on file is one of the most common causes of Error 131042 resurfacing. Always make sure a valid, non-expired card is set as the default in your Meta Billing & Payments settings.